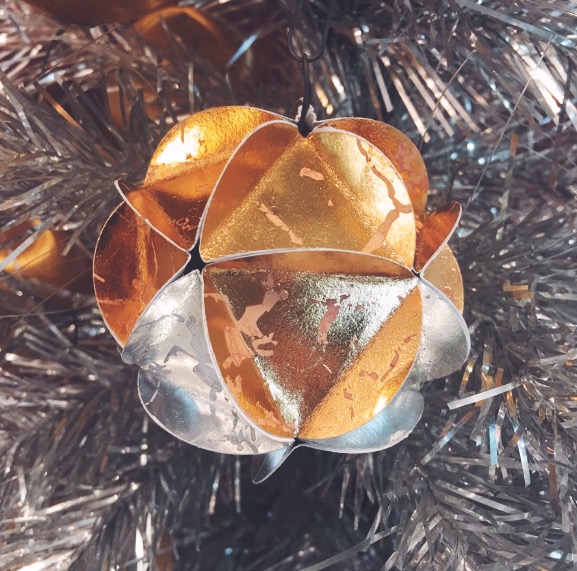
DIY Series: Geodesic Paper Ornament
Posted by Kelley Sandidge on 15th Dec 2016
This project goes back to my days at a Montessori School in the 1970's, where teachers looked for opportunities to allow students to explore concepts like geometry through fun, creative activities just like this one. This design always struck me as having a very midcentury modern aesthetic -- almost like Buckminster Fuller meets paper, scissors and paste. I hope you enjoy it as much as I did.
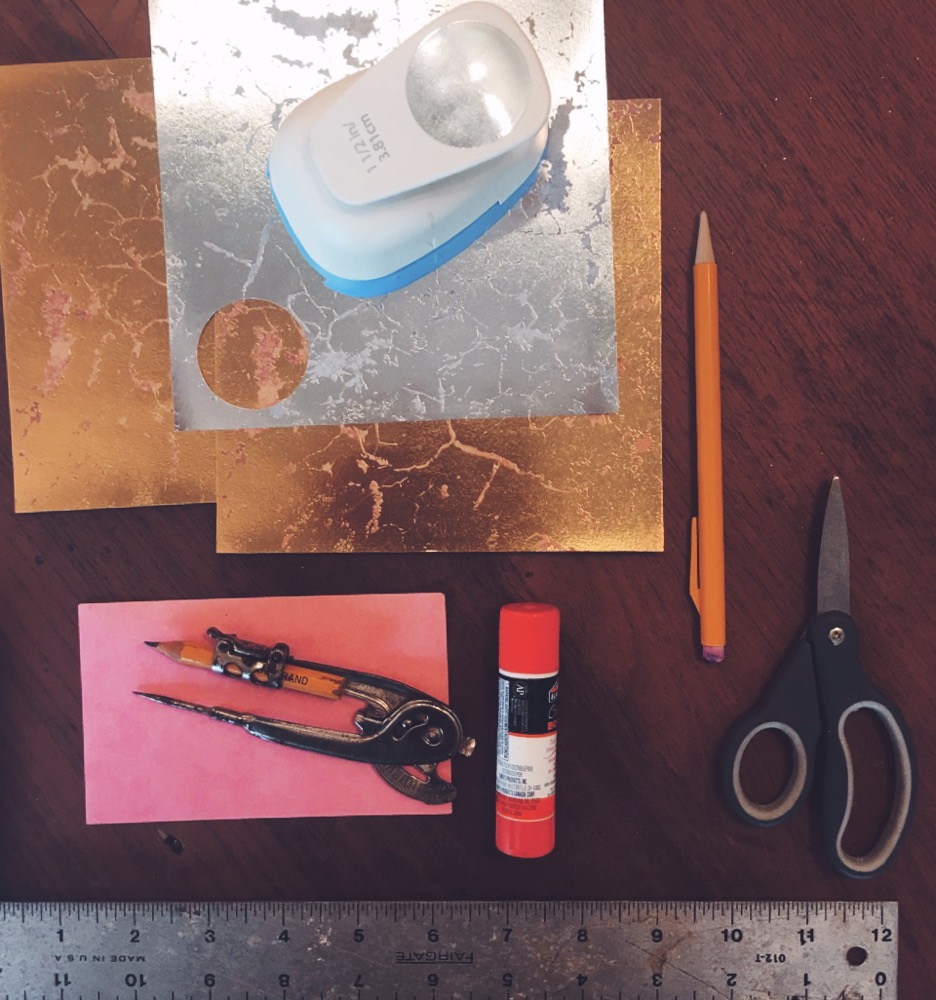
Supplies:
Decorative card stock
Circle punch
Compass, scissors, index card, pencil and ruler to create triangle template
Glue stick
(books of decorative card stock and circle punch were found in the scrapbooking section at Michael's craft store)
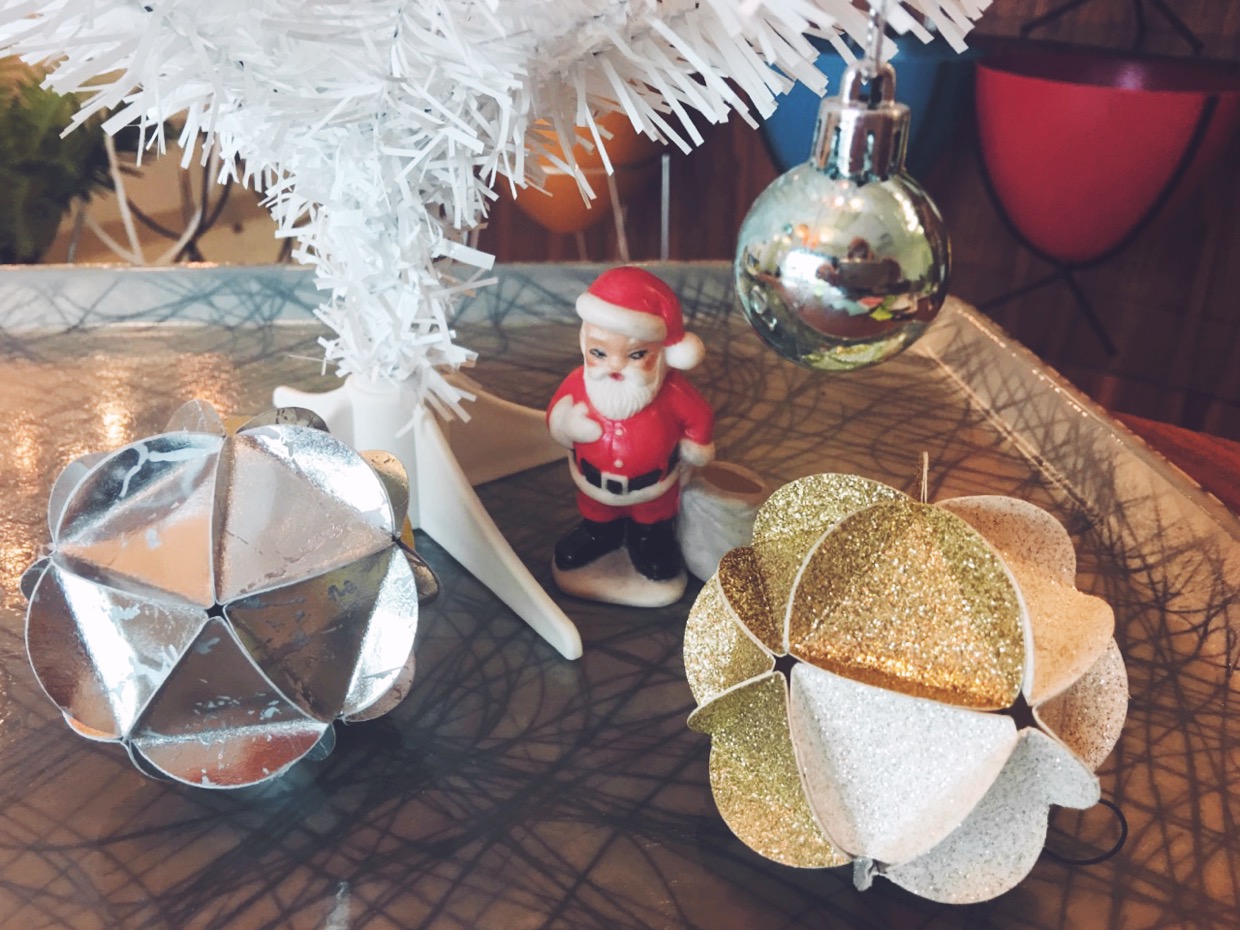
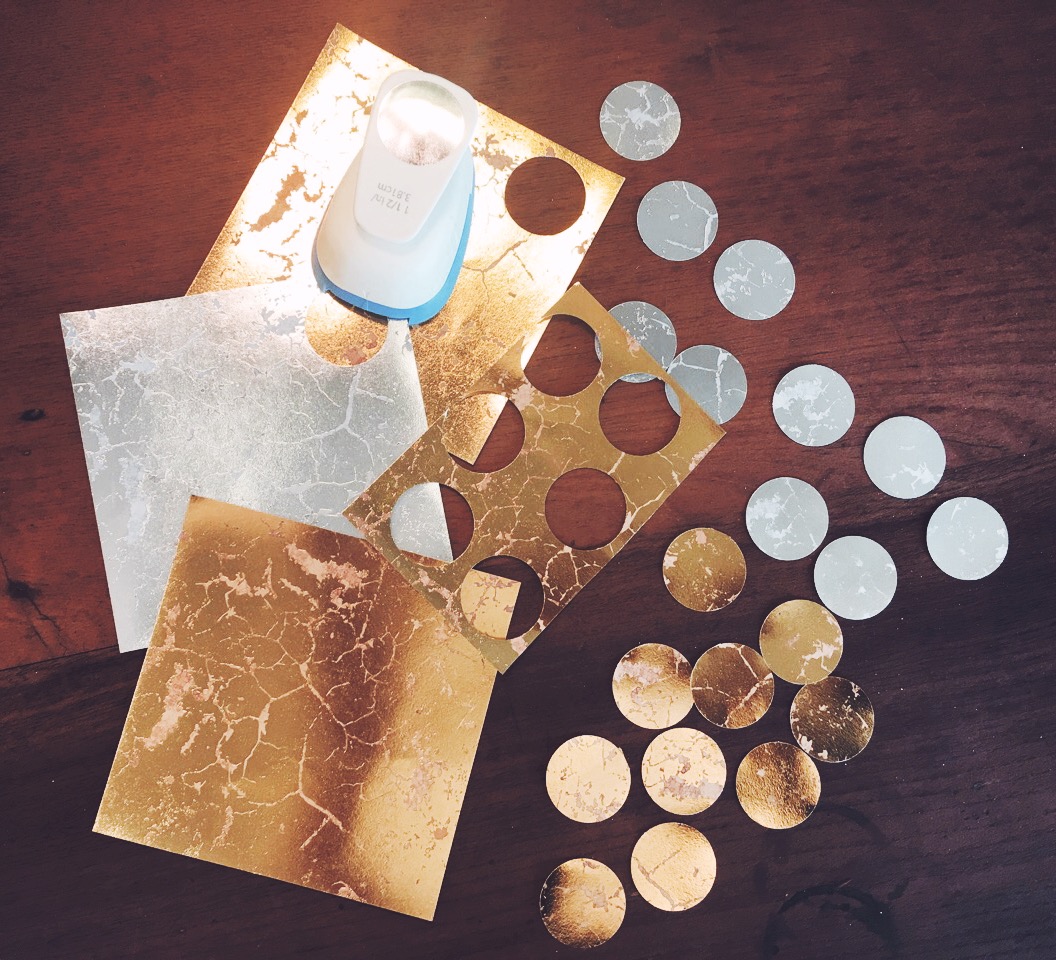
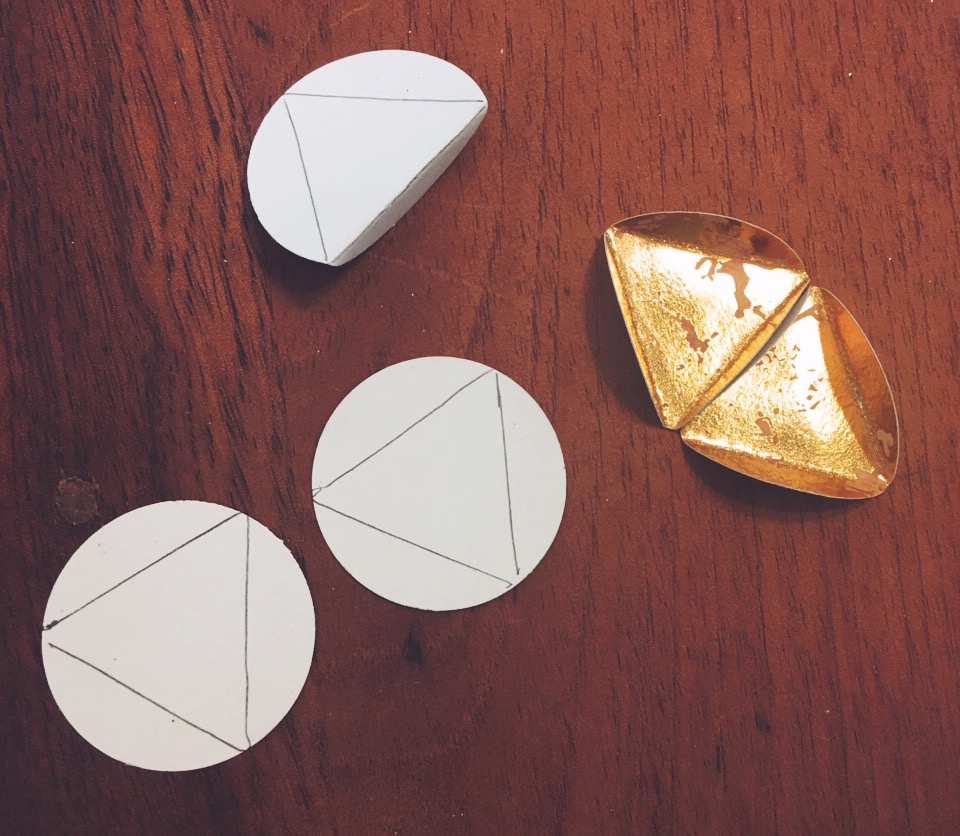
1) Create 20 circles out of your decorative card stock, using the circle punch. For mine, I chose to make 10 silver circles and 10 gold.
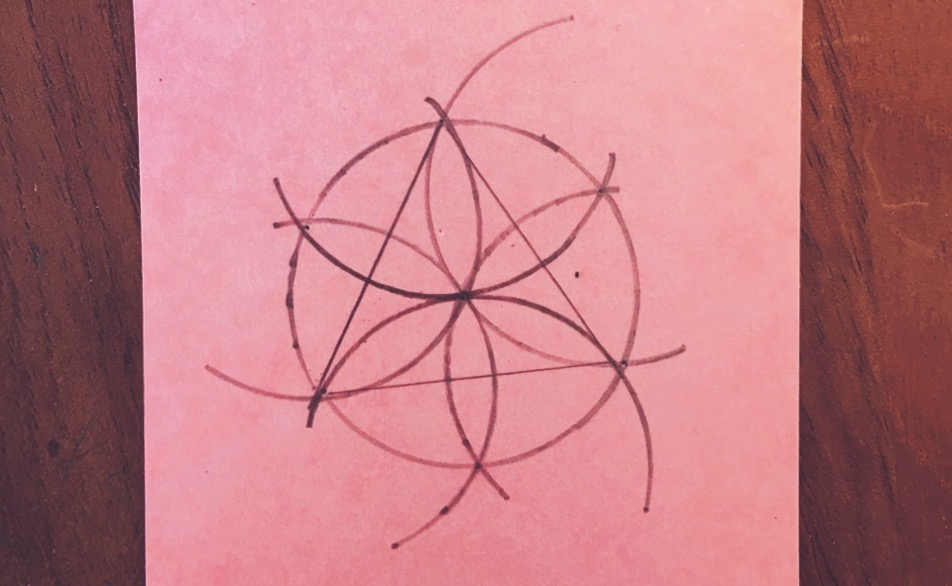
2) These circles will be folded into an equilateral triangle. To create a template for fold lines, simply use a compass to find the shape in a 1.5 inch circle. Set your compass to .75 inches. Once you create the triangle shape, go ahead and cut it out.
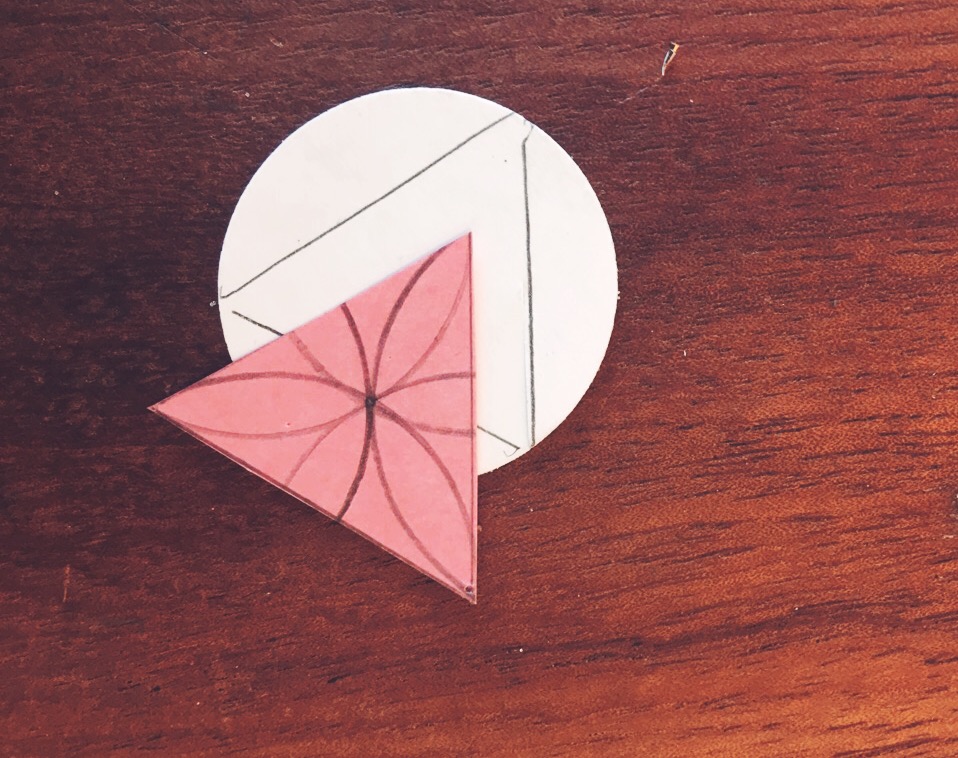
3) After creating pencil lines on the back side of your circles, fold the tabs toward the decorative side.
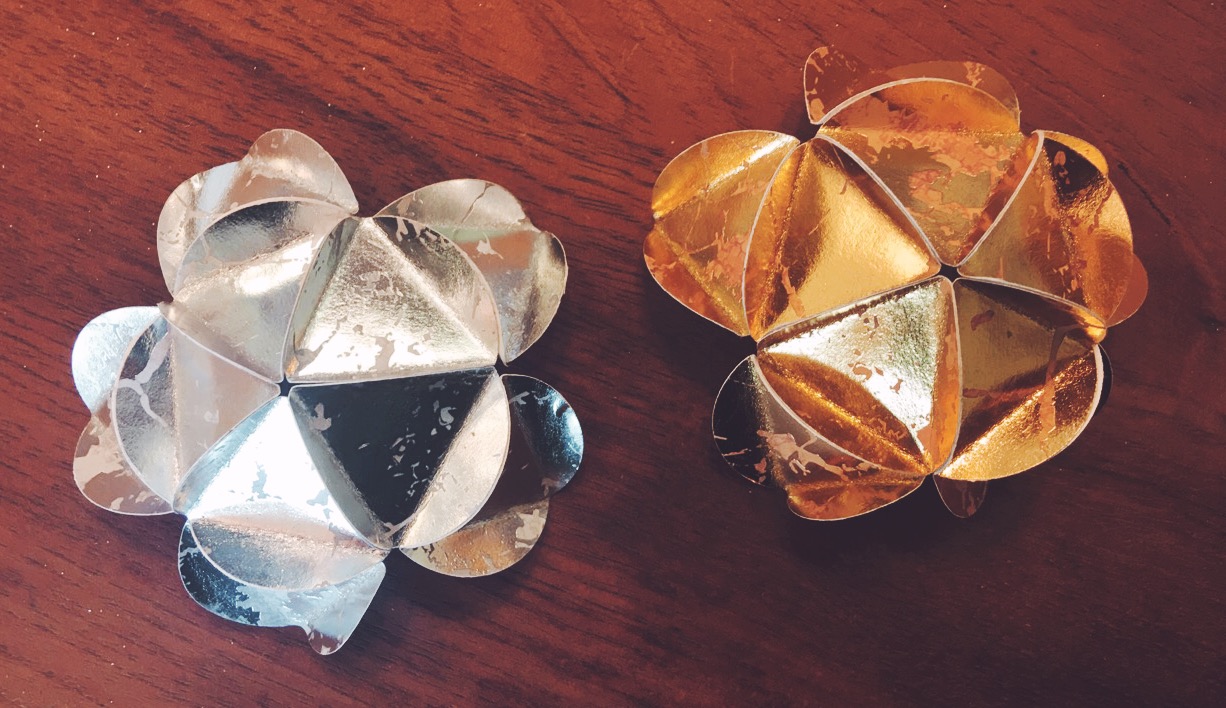
4) Group these in hexagons of five, then add one to each side of the hexagon. This is your grouping to be glued.
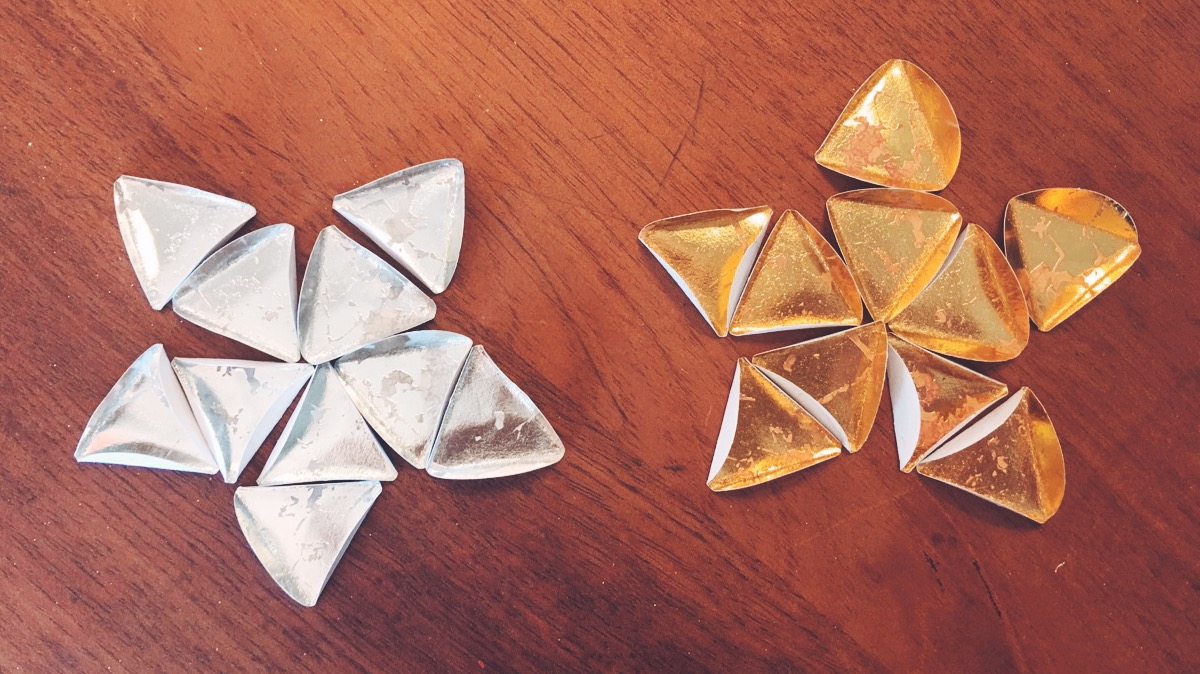
5) Glue each grouping at the tabs to create these beauties!
6) Allow these to dry for a while, and once set, glue the two halves together at the open tabs.
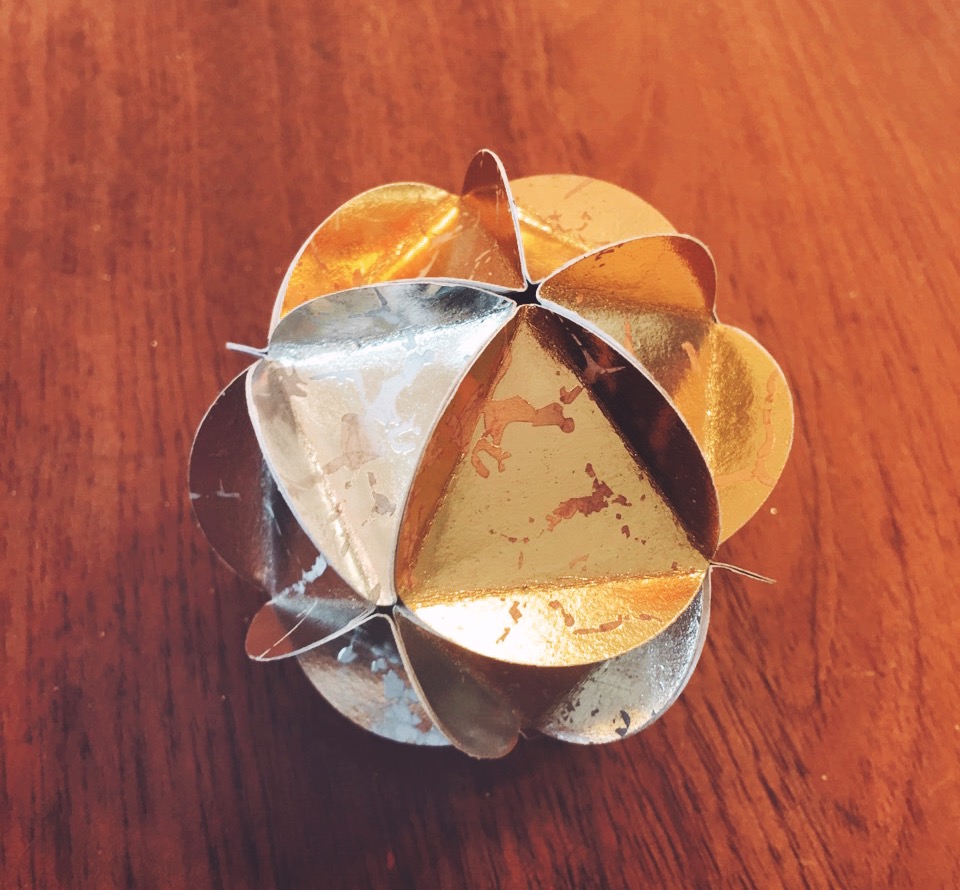
8) Add a hook and you have a lovely ornament!